
Deploy a Tool – Canvas
In your Canvas LMS, choose Admin in the Global Navigation bar.
Choose the name of your account.

Choose Developer Keys in the Admin navigation menu.

Choose Add Developer Key.
Then choose Add LTI Key.

You will see the Key Settings window.
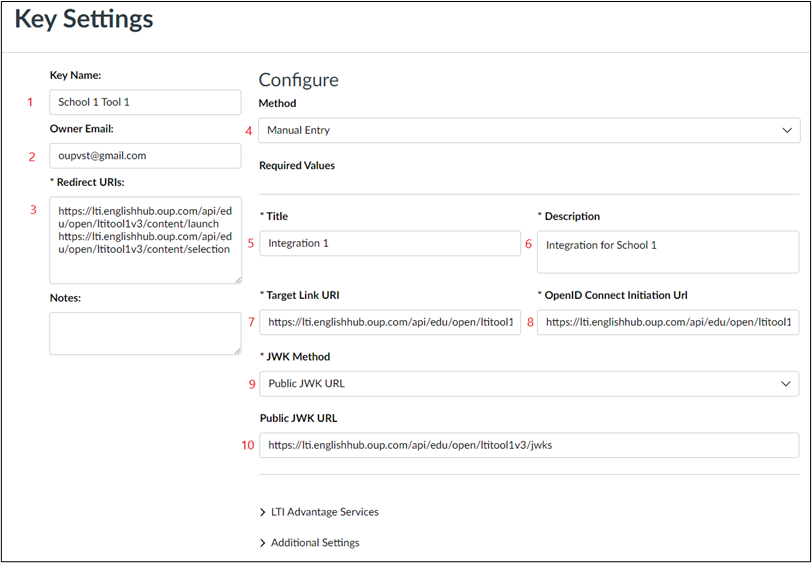
In the Key Settings window, add the following information.
- Key name: Add a name for your integration key.
- Owner email: Add your email address.
- Redirection URI(s): Copy both of these URLs and add them:
https://lti.englishhub.oup.com/api/edu/open/ltitool1v3/content/selection
https://lti.englishhub.oup.com/api/edu/open/ltitool1v3/content/launch - Method dropdown menu: Select Manual Entry from the Method dropdown menu.
- Title: Add a title.
- Description: Add a description of the key and what it will be used for.
- Target Link URI: Copy the URL and add it to the field: https://lti.englishhub.oup.com/api/edu/open/ltitool1v3/content/selection
- OpenID Connect Initiation URI: Copy the URL and add to the field:
https://lti.englishhub.oup.com/api/edu/open/ltitool1v3/login/initiate - JWK Method: Choose Public JWK URL from the dropdown menu.
- Public JWK URL: Copy the URL and add to the field: https://lti.englishhub.oup.com/api/edu/open/ltitool1v3/jwks
- Open the LTI Advantage Services heading.
Switch all toggles on so they display a green check mark.

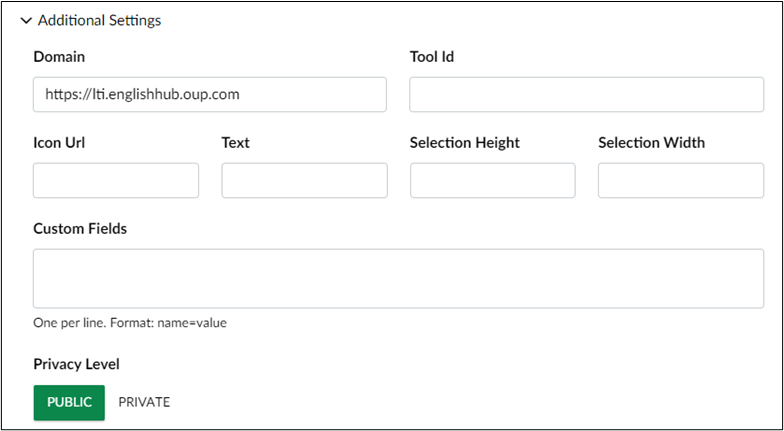
- Open the Additional Settings heading.
Under Domain add the URL: https://lti.englishhub.oup.com.
Choose Public as the Privacy Level setting.
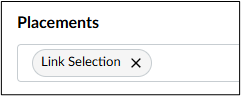
- Open the Placements dropdown menu.
Ensure Link Selection is chosen.
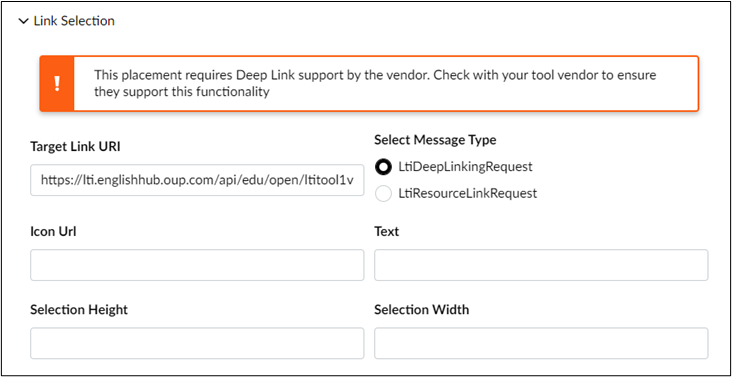
- Open the Link Selection heading.
In Target Link URI add the Content Selection URL:
https://lti.englishhub.oup.com/api/edu/open/ltitool1v3/content/selection
Under Select Message Type choose LtiDeepLinkingRequest
Enabling your LMS to send student and teacher roles, names and email information to OUP’s platforms allows them to be identified correctly in the user account and grade reporting areas.
By not selecting these options, student and teacher IDs will be anonymized in the OUP platforms, meaning they cannot be identified. If you do not choose these options, they can be enabled later.
Make sure there are not any spaces at the end of the URLs in the fields.
Choose Save to close the Key Settings window.
You will see the key listed in the Developer Keys list. Ensure the state is toggled ON.

Configure App in Canvas
For the next step, we suggest duplicating the current browser tab for easy copying and pasting between different sections of Canvas.
Choose Admin / Settings in the Canvas menu.

Choose Apps.

Choose View App Configurations.

Choose + App

You will see the Add App modal.
Under Configuration Type choose By Client ID in the dropdown menu.

Return to the other browser tab.
Copy the client ID from the Developer key list.

Add it to the Client ID box in the Add App modal.

Choose Submit.
In the Add app modal, choose Install.

You may see a message:

Choose Yes, Install Tool.
You will see the tool in the App list in Canvas.

Creation of the integration key and app in Canvas is now complete.
Keep both Canvas tabs open. You will need to access them later.
Configure LTI Tool in Oxford English Hub
Within the Oxford English Hub organization:
Choose LTI Deployments.
Choose Add Deployments.

You will see a side panel. Add the information below to the side panel.
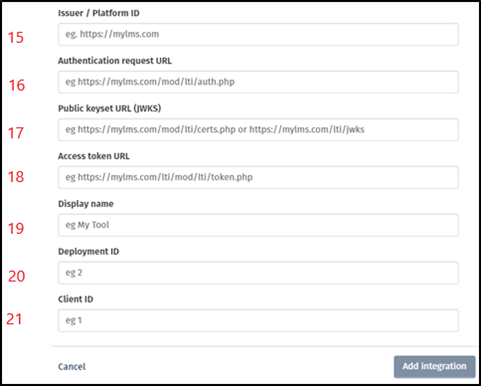
In the side panel, add the following values:
- Issuer / Platform ID: https://canvas.instructure.com
- Authentication Request URL: https://canvas.instructure.com/api/lti/authorize_redirect
- Public keyset URL (JWKS): https://canvas.instructure.com/api/lti/security/jwks
- Access token URL: https://canvas.instructure.com/login/oauth2/token
- Add a name for the tool in Display name.
Add Values from Canvas to Tool in Hub LTI-organization
Return to the browser tab that displays the LTI External App in Canvas.

Choose the Settings icon for the App.
Choose Deployment ID.

You will see the deployment ID displayed.

- Copy the deployment ID and paste to Deployment ID in Hub.
- In the other browser tab displaying the Canvas Developer Keys list, copy the Client ID from your tool and paste it to Client ID in Hub.

Choose Add integration in the Hub side panel.
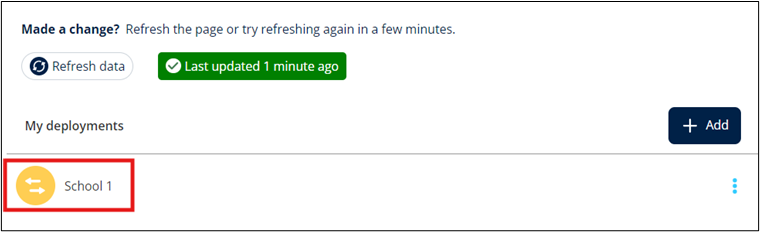
The tool has been created and deployed.
You can now assign products in your Canvas course.
Assign Tool to Canvas Course
Choose Courses in the Canvas navigation bar.
Choose your course in Canvas.
Within your course choose Modules.
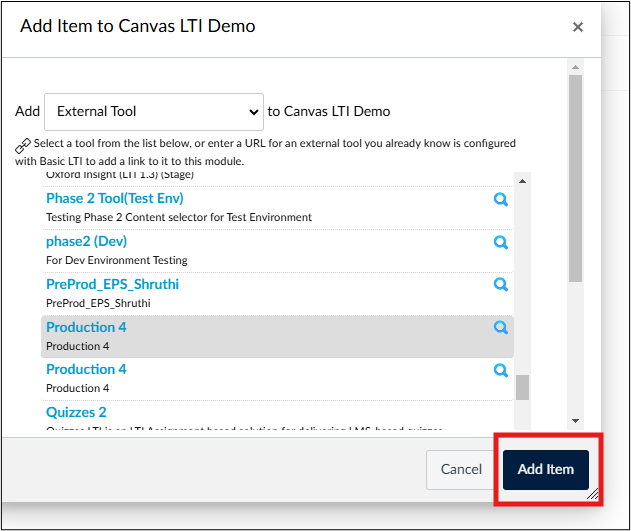
Choose the + symbol to add a new item to the module.

In the modal choose External Tool in the dropdown menu.
Choose your tool name in the list.

Check Load in a new tab.
Choose Add Item.

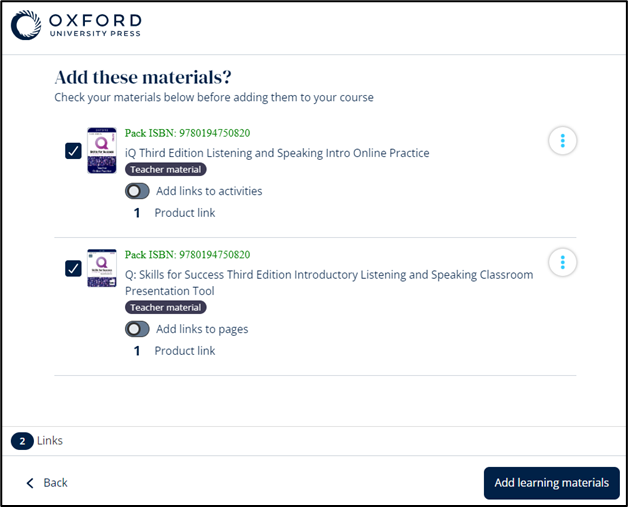
Choose a Product
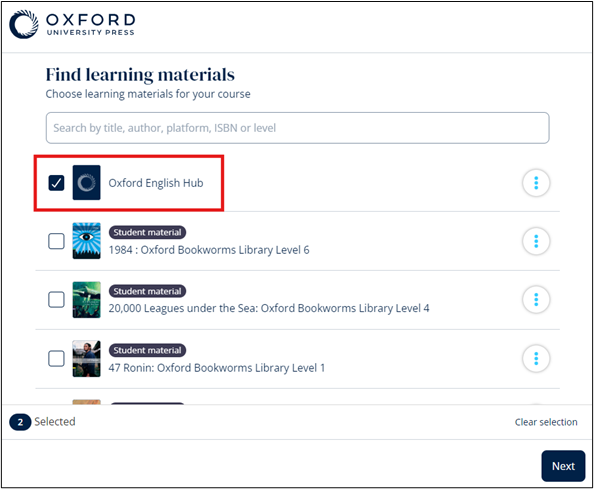
Having chosen your integrated tool, you will see a content selection menu of OUP products. Search for your course and select the checkbox for the product you wish to assign to your course. Searching with the product ISBN will ensure you find the correct product without confusing it with another.
When you have chosen your product, search for Oxford English Hub if required. Access to Oxford English Hub will allow students to access course resource materials, the Gradebook, and Assessment material if available in their chosen course.

Choose Next.
Important: Make sure you have chosen the correct teacher or student product.
Teachers cannot launch student products.
Students cannot launch teacher products.
Check that your product is correct and choose Add learning materials. This will close the Oxford English Hub content selection modal.
Choose Add Item in the Canvas Configure External Tool modal.
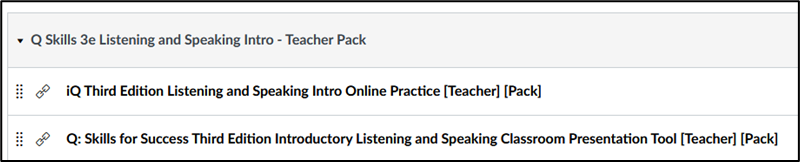
The product(s) will appear as item(s) in the Canvas module.

Open the menu for each product and choose Edit Settings.

Check Load this tool in a new tab. We recommend launching products in a new tab rather than an iframe within Canvas.
Choose Update.

Launch Products
Students or teachers will see the product launch link in the Canvas course when you have published the module.
To launch a product yourself as a teacher or administrator, it must be a teacher product and not a student product.
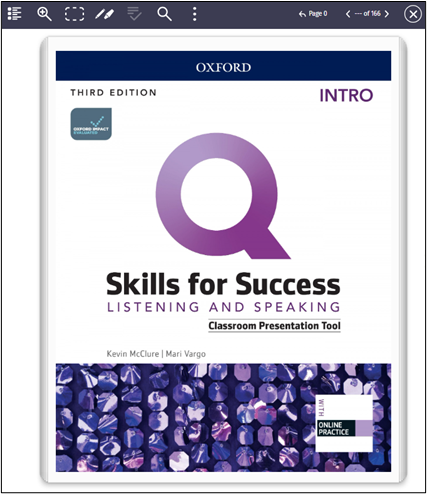
Clicking on the launch link will open the OUP product.
If license credits for the product have not been assigned to the Hub organization, the first time a student or teacher launches a product, they will be presented with a field to enter their product access code.
If license credits have been assigned to the Hub organization, then the access code prompt will not appear, and the product will launch.
(The teacher or student may have to accept Terms and Conditions on first launch.)

If you have not created a licence pool, the student or teacher will be prompted to enter an access code to be able to use the product.

They should enter their access code and choose Continue.
The product will launch.
They should check the box agreeing to the Terms and Conditions and choose Continue.

They will then be able to use the product.
Assign Oxford English Hub
In the content selection menu, choose Oxford English Hub to create a launch link in your course.
Choose Next.
Choose Add learning materials.

Choose Save and return to course.
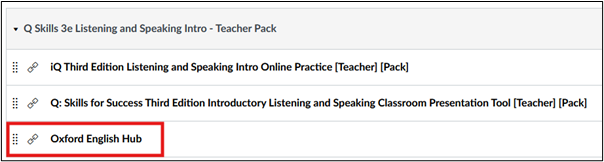
A launch link for Oxford English Hub will be created in your LMS course.
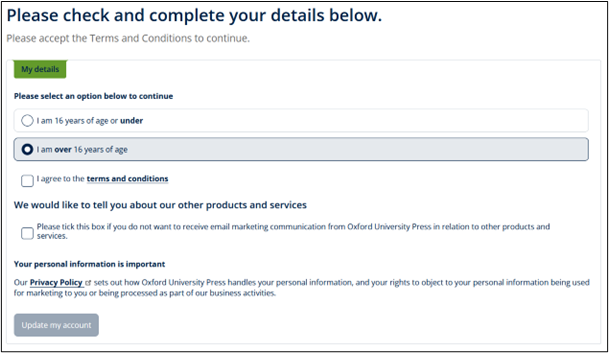
When a student chooses the link, Oxford English Hub will open, and they will be presented with the Terms and Conditions.
They should make their age choice and agree to the Terms and Conditions.
Then choose Update my account.
The student’s account will be created in Oxford English Hub.
They can choose Get started to access Oxford English Hub.
Within Oxford English Hub students and teachers will be able to access the course content they are entitled to, such as course Resources and Assessment material, depending on their product.
They will also be able to access e-book, Online Practice, and Assessment gradebooks.

Important:
If a student has not redeemed a license for a product, they will not see any course material in Oxford English Hub.
If a student has redeemed a pack license already, they will see the pack course materials available within Oxford English Hub.
If a student has redeemed an Online Practice license, they will be able to access course Resources in Oxford English Hub.
Students and teachers cannot launch Online Practice, e-books, or Class Presentation Tools from Oxford English Hub. These products must be launched using their own launch link from the LMS.
Students and teachers can only access Oxford English Hub from their LMS. They cannot access their account or course material by signing in to Oxford English Hub directly.