In this section:
- Getting started with Oxford English Hub
- Sign in with an Apple, Google or Microsoft account
- Sign in with Google Classroom
- Use a code
Getting started with Oxford English Hub
- Oxford Learn
- Oxford Learner’s Bookshelf
- Oxford Learner’s Dictionaries
- Oxford Online Practice
- Oxford Teacher’s Club
If you create a new Oxford ID, you will not be able to access materials you have on other Oxford ID accounts in Oxford English Hub.
If you would like access to these materials in Oxford English Hub, please continue to use your Oxford ID.
- Sign in with your Oxford ID. No Oxford ID? Choose Register.
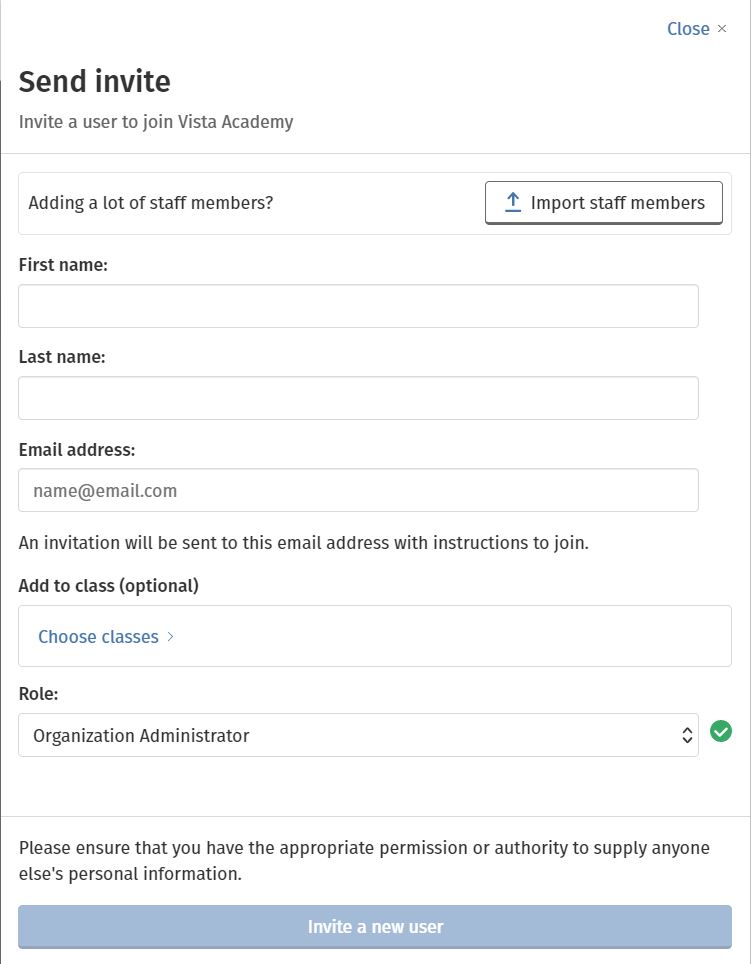
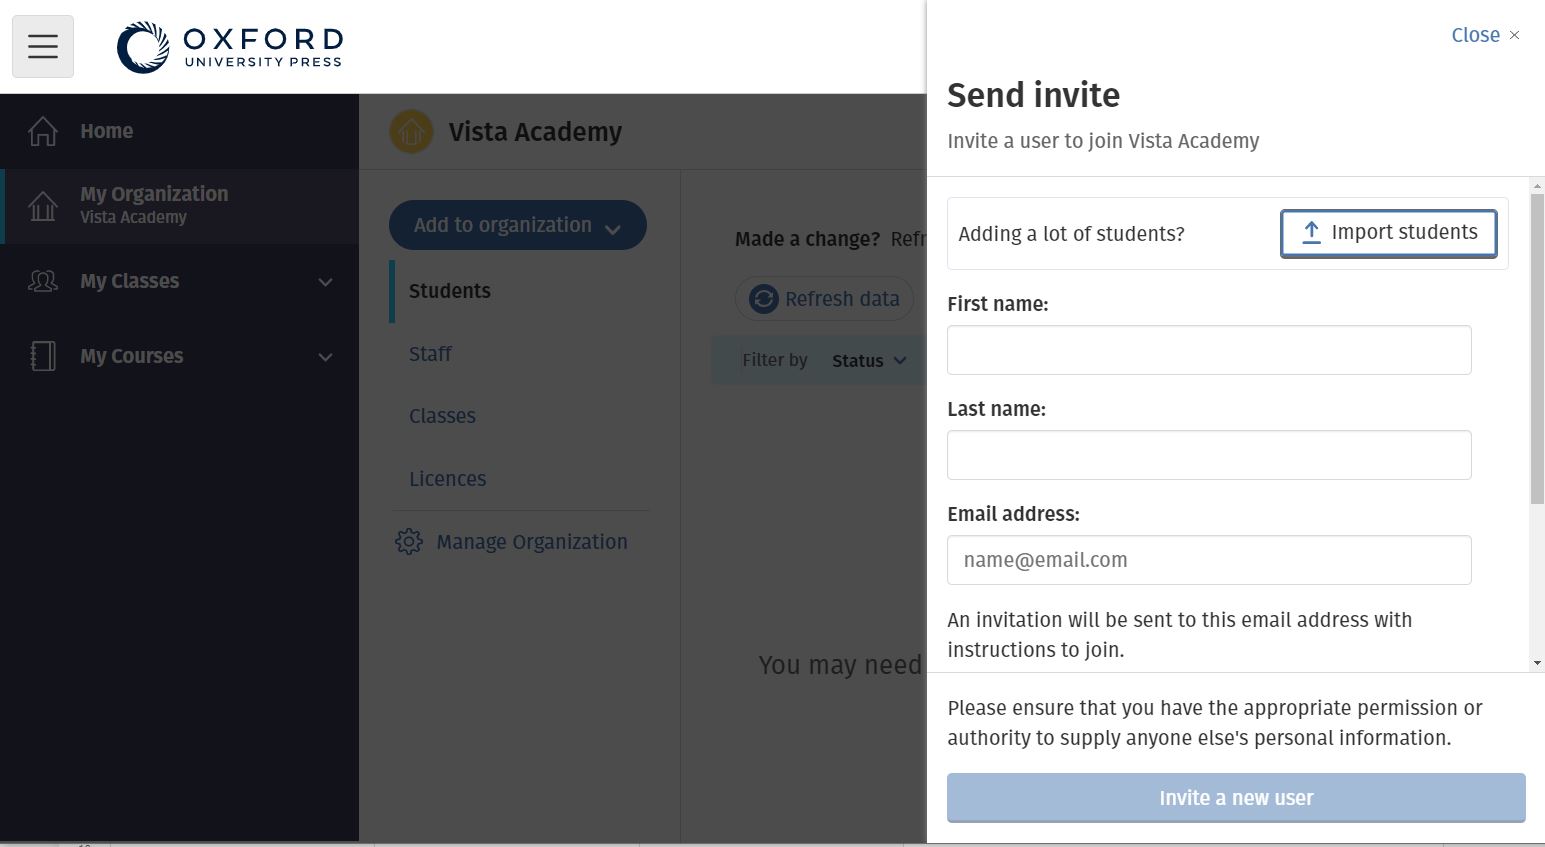
- Complete the form.
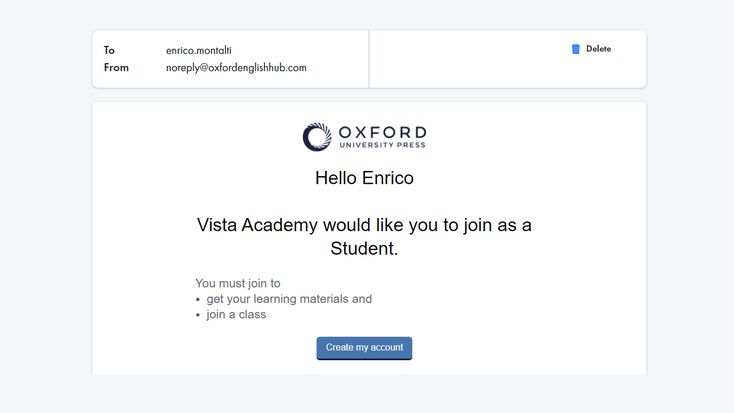
- Choose Create my account then select Continue.
- You’ll see the sign in screen. Enter your username and password to sign in.
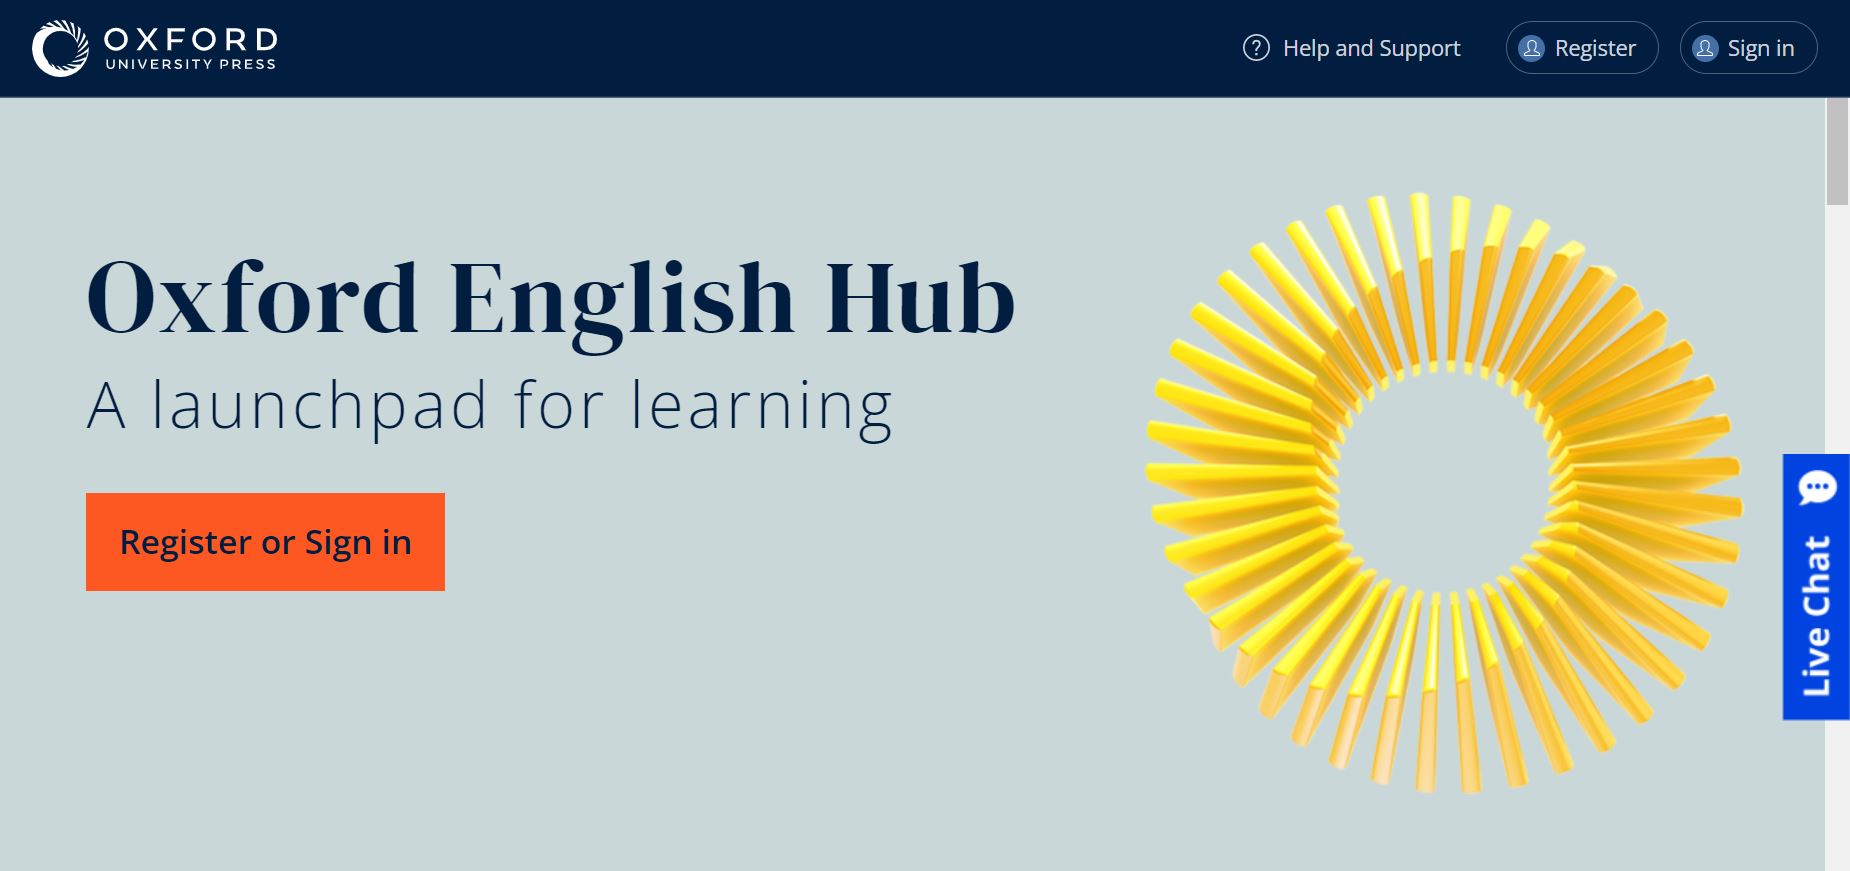
Everything you need to know to get set up and ready to go on Oxford English Hub.
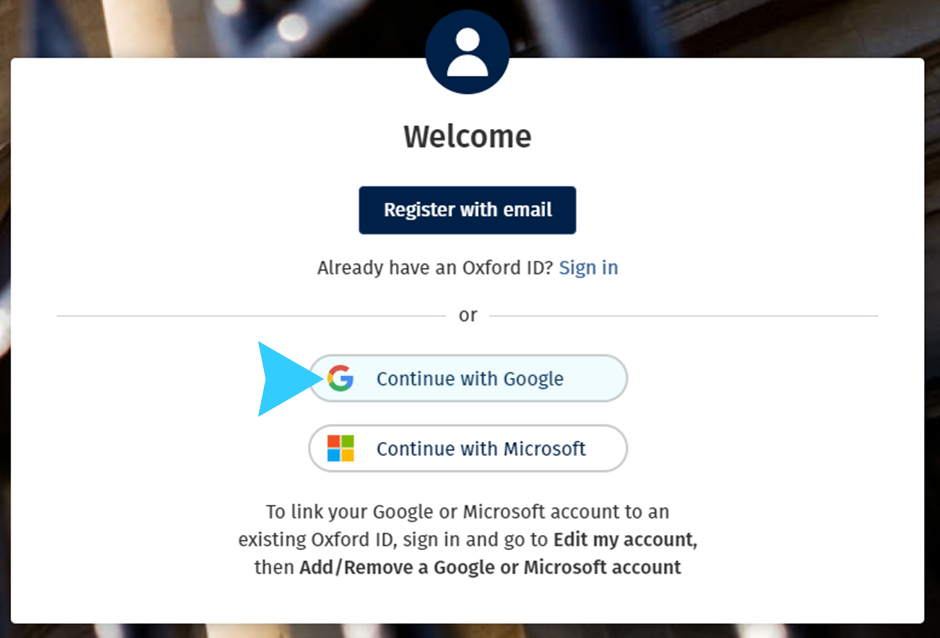
Sign in with an Apple, Google or Microsoft account
Add an Apple, Google or Microsoft account to your Oxford ID and you can sign in with Apple, Google or Microsoft.
- Sign in with your Oxford ID.
- Select your profile.
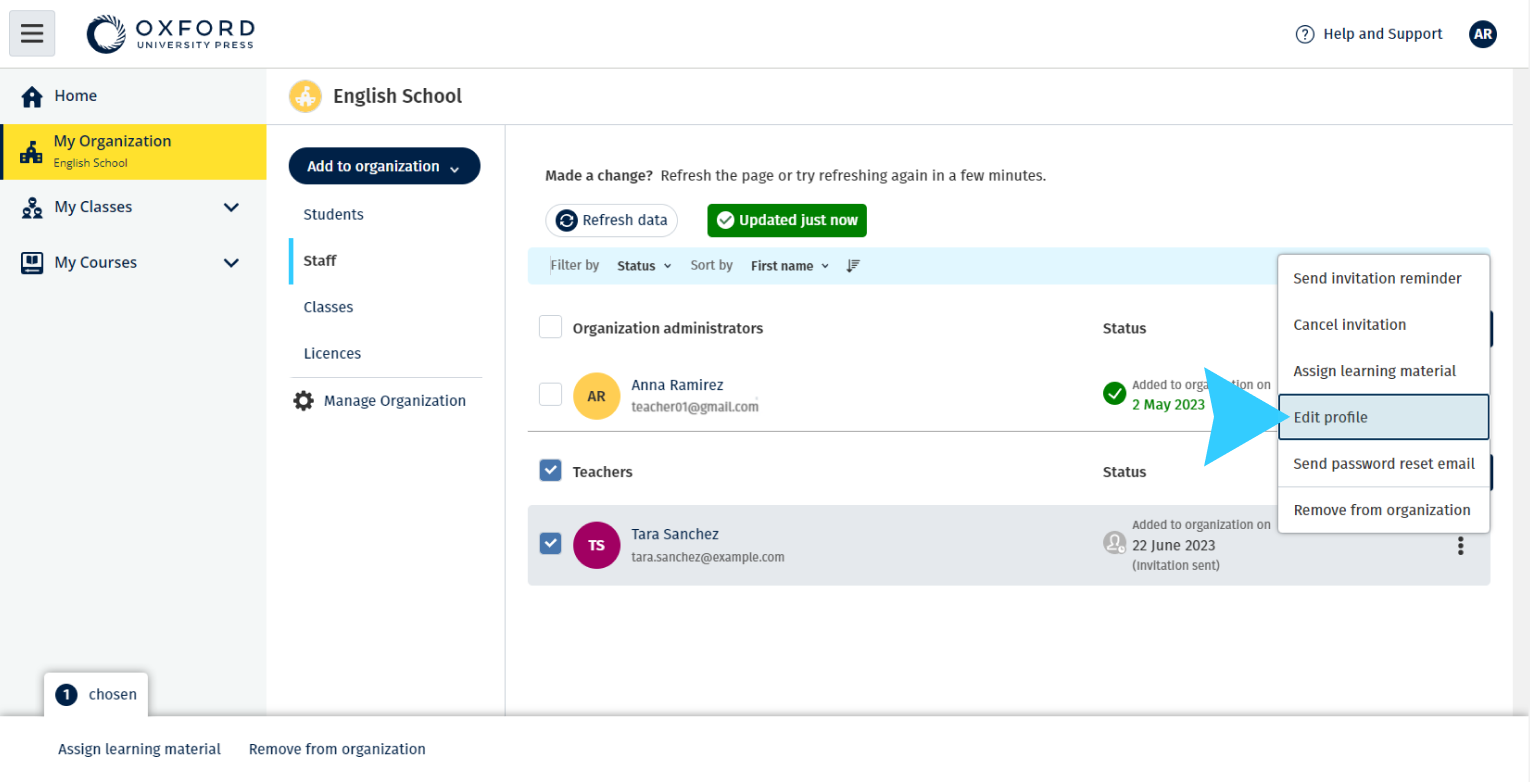
- Select Edit my account.
- Choose Add/Remove an Apple, Google or Microsoft account.
- Choose the Apple, Google or Microsoft account you want to use.
- Confirm your Oxford ID password.
- Choose Next.
- Choose Done.

Sign in with Google Classroom
You can sign in using the same email address and password you use for Google Classroom.
You’ll need to register for Oxford English Hub using your Google Classroom email address and password. You only need to do this the first time you sign in.
- Choose Register.
- Choose Continue with Google.
- Enter the email address and password you use for Google Classroom.
- Check your details.
- Choose Continue.
After you register, select Sign in to sign in with your Google Classroom email address and password.

Use a code
What is an Oxford English Hub code?
These are examples of codes for Oxford English Hub:
- 1111-2222-3333
- S 123 456 7890
- T 123 456 7890
For example:
- S 123 456 7890 is a student code.
- T 123 456 7890 is a teacher code.
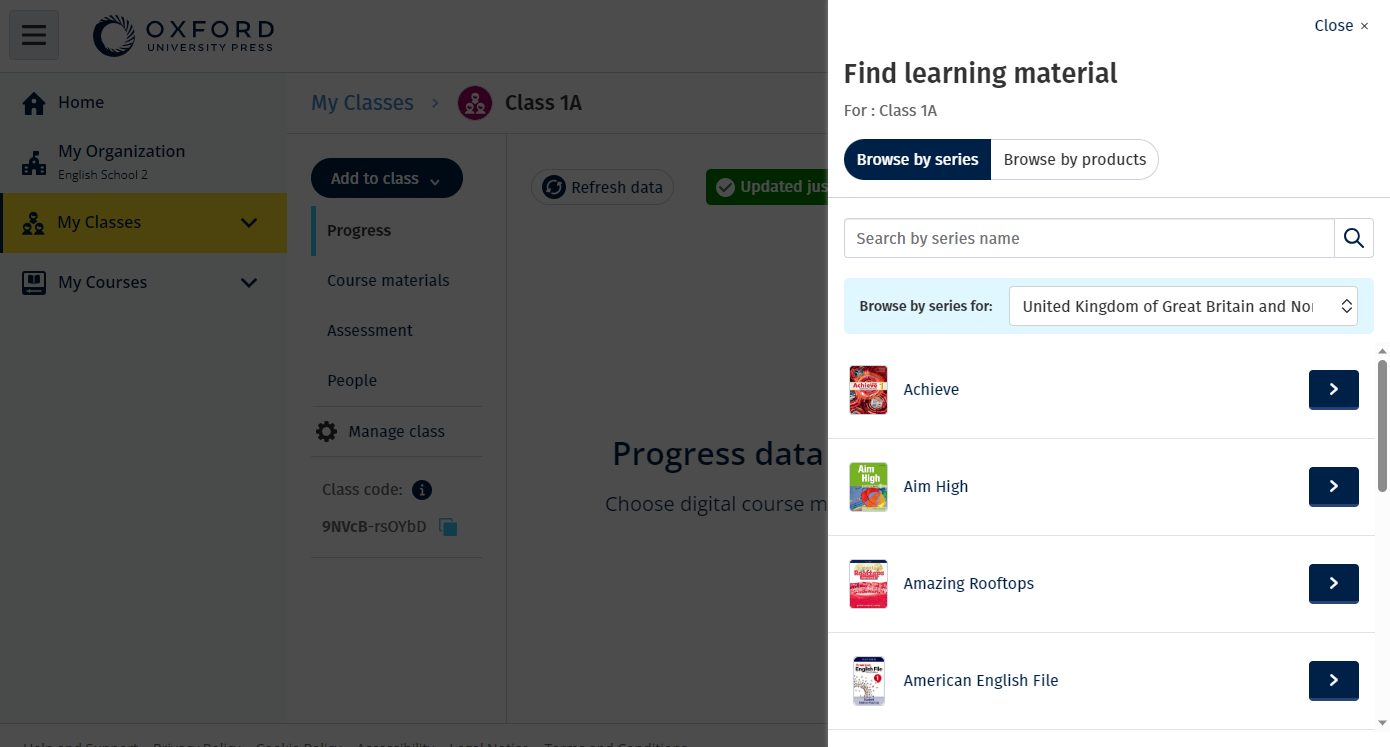
You can use your code to access your products on Oxford English Hub.
Where is my code?
Your code is in one of these places:
- your book
- an email
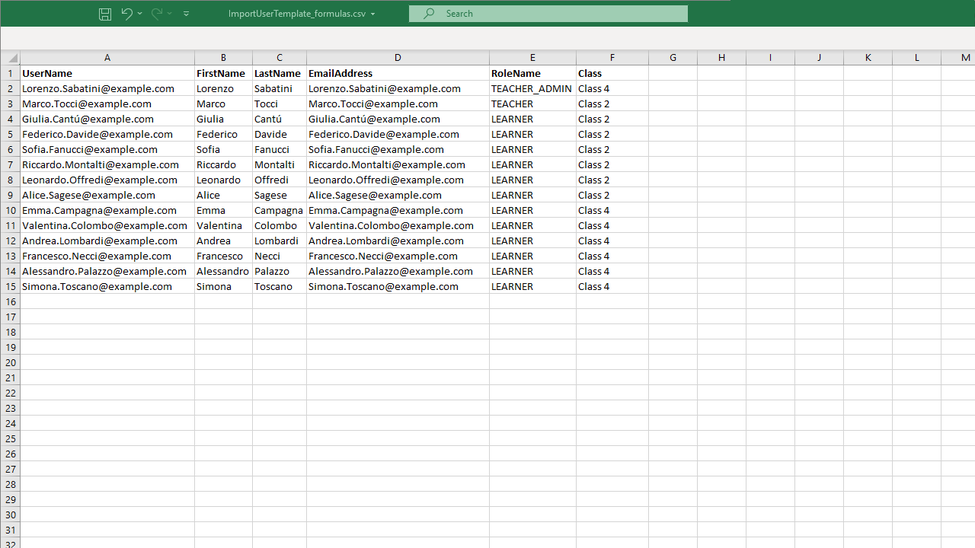
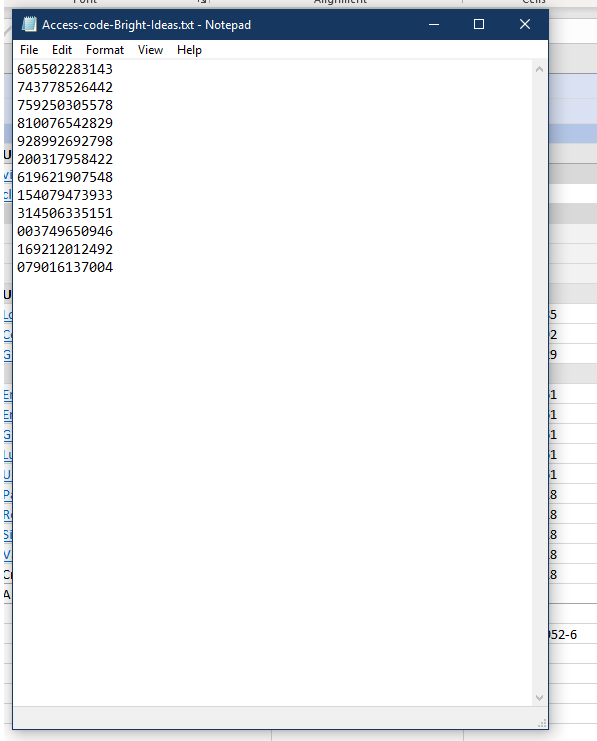
- a spreadsheet
No code? Contact us.
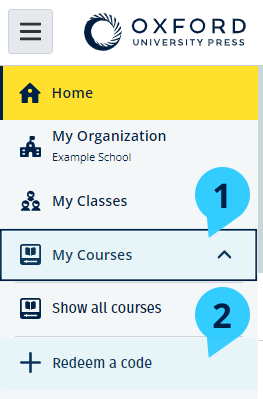
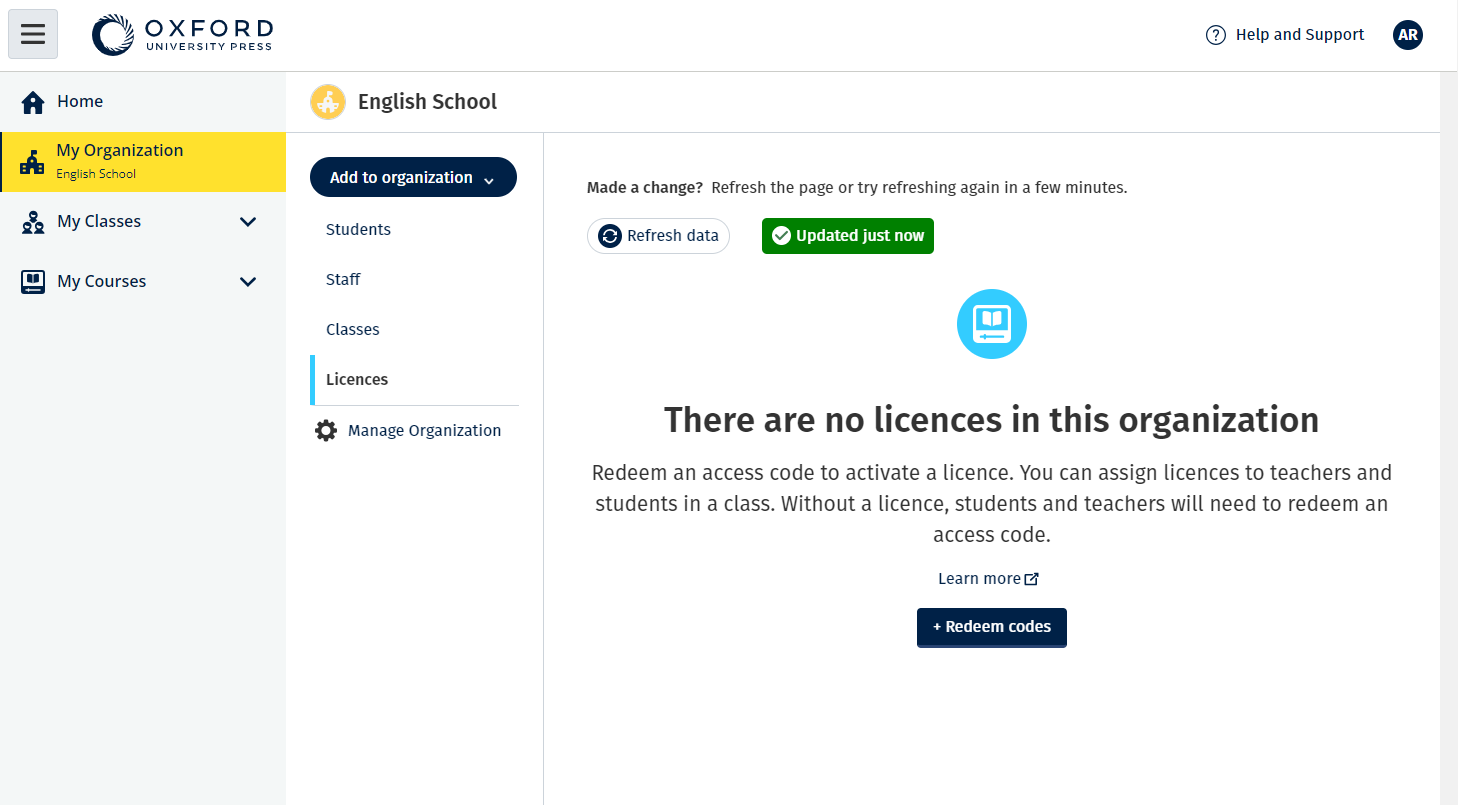
How do I use my code?
- Go to oxfordenglishhub.com/redeem
- Follow the instructions on screen. (You may need to sign in or create an Oxford ID.)